

HOW MUCH DID IT COST?


That nagging question hiding behind every perfectly tailored space you come across on Instagram, Pinterest, in magazines, and the like. How much did it cost? And, because I would love to scratch an itch for you, I thought it would be refreshing to openly share what we spent. My hope is to provide you with some insight to decision making and planning to help you get started on your own project.
Since we did the labor ourselves and designed everything in house, our total bottom line only includes materials. If you are planning a remodel of your own, please keep in mind that labor and design/architectural fees can be some of the costliest (but most pertinent) parts of a project. It cannot go without saying that the value of good labor and good planning should not be overlooked.
Technically, this bathroom is a ¾ bath and includes a shower. Since we left the shower untouched, for the sake of where money was spent, let’s consider this a powder bath. All costs include tax and shipping. So, without further ado…
THE TOTAL COST OF THIS PROJECT CAME IN AT $5,380.00.
Below is how it all breaks down, along with some insight into where we chose to spend more, or less, and why.
STONE VANITY: $1630.00 (including mounting brackets)
This was the biggest splurge; it’s the main event and for me, worth every penny! Since the shower was in good shape and was more of a personal taste issue than a had to go because it’s so broken down or unbearably ugly item, financially (and for the planets sake!), it didn’t make sense to replace it. The goal was for the shower to blend in with the rest of the room. This sink, helped to accomplish that.
FAUCET: $520
There is a wide range you can expect to pay for a faucet. Right now, in 2023, I would say the typical range starts around $150 and goes all the way up to $2600 (give or take). I would consider our option to be a mid-range option. My non-negotiable on the faucet was a polished nickel finish. Polished nickel can often be a special-order option and depending on the brand can have slight upcharge (around 10% or so); so, keep this in mind when you are shopping. Nickel finish is a warmer silver tone than chrome and complimented our other selections in the space best. The existing shower fixtures were satin nickel, so I wanted to keep the plumbing fixtures in the space somewhat consistent.
ADDITIONAL PLUMBING PARTS: $345
Including but not limited to P-Trap, Shut-off Valves, Supply Lines, and other connection parts. This area is often overlooked when budgeting. More goes into making a faucet work than the faucet itself! This is where things got a bit more expensive for us since I opted for a polished nickel finish. Since we have exposed plumbing, I wanted the finishes to match. Anytime you want the parts typically hidden in a vanity to have a finish other than chrome or PVC, you can expect to pay more. In this case, we paid around $125 extra for upgraded finishes.
FLOORING: $450
The flooring in the bathroom is a 12x12” slate tile. The same flooring runs from the adjacent mudroom space, so this isn’t a precise cost number since it’s a fraction of a total cost that covers more than one area… but it’s a decent estimate of what it would cost if it were just in the bathroom.
LUMBER & MISCELLANEOUS BUILDING MATERIALS: $1,000
This includes wood for the baseboard, trim, and crown molding, as well as the linen cabinet shelves and wall paneling. The wall paneling accounts for the majority of this number and we chose to apply it for several reasons. For one, the walls were in rough shape in this room. They were a mixture of poorly applied, inconsistent wall texture, mixed with untextured wall, dents etc. It also ties into another bathroom upstairs where we also applied vertical paneling. Lastly, I feel it gives the space a little extra depth and interest to go along with the striking marble vanity.
HARDWARE/ACCESSORIES: $255
Includes towel hooks, cabinet door hardware, cabinet hinges, toilet paper holder etc.
WALL SCONCE: $365
MIRROR: $270
TOILET: $235
PAINT: $130
VENT COVER: $30
ART: $150
(Although I ended up switching it out for art I already had in a different area of our home)
The art of planning a home renovation large or small, is finding the right balance between what you need, what you want and what you can afford. Don’t let this number discourage you from modifying a space to fit your needs as everyone’s situation is unique. And that is the beauty of creating spaces. Your personal style, mixed with budget and pre-existing conditions, is a recipe for endless possibilities. Could we have done this for less? Yes. Could we have done this for more? Always. Whatever you do, don’t cut corners to save money, and try not to take yourself too seriously. It can be (almost always is) a stressful endeavor when renovating. I promise you though, the reward on the other side is worth the effort!
The Finished Space:


What the space looked like before and during the renovation:


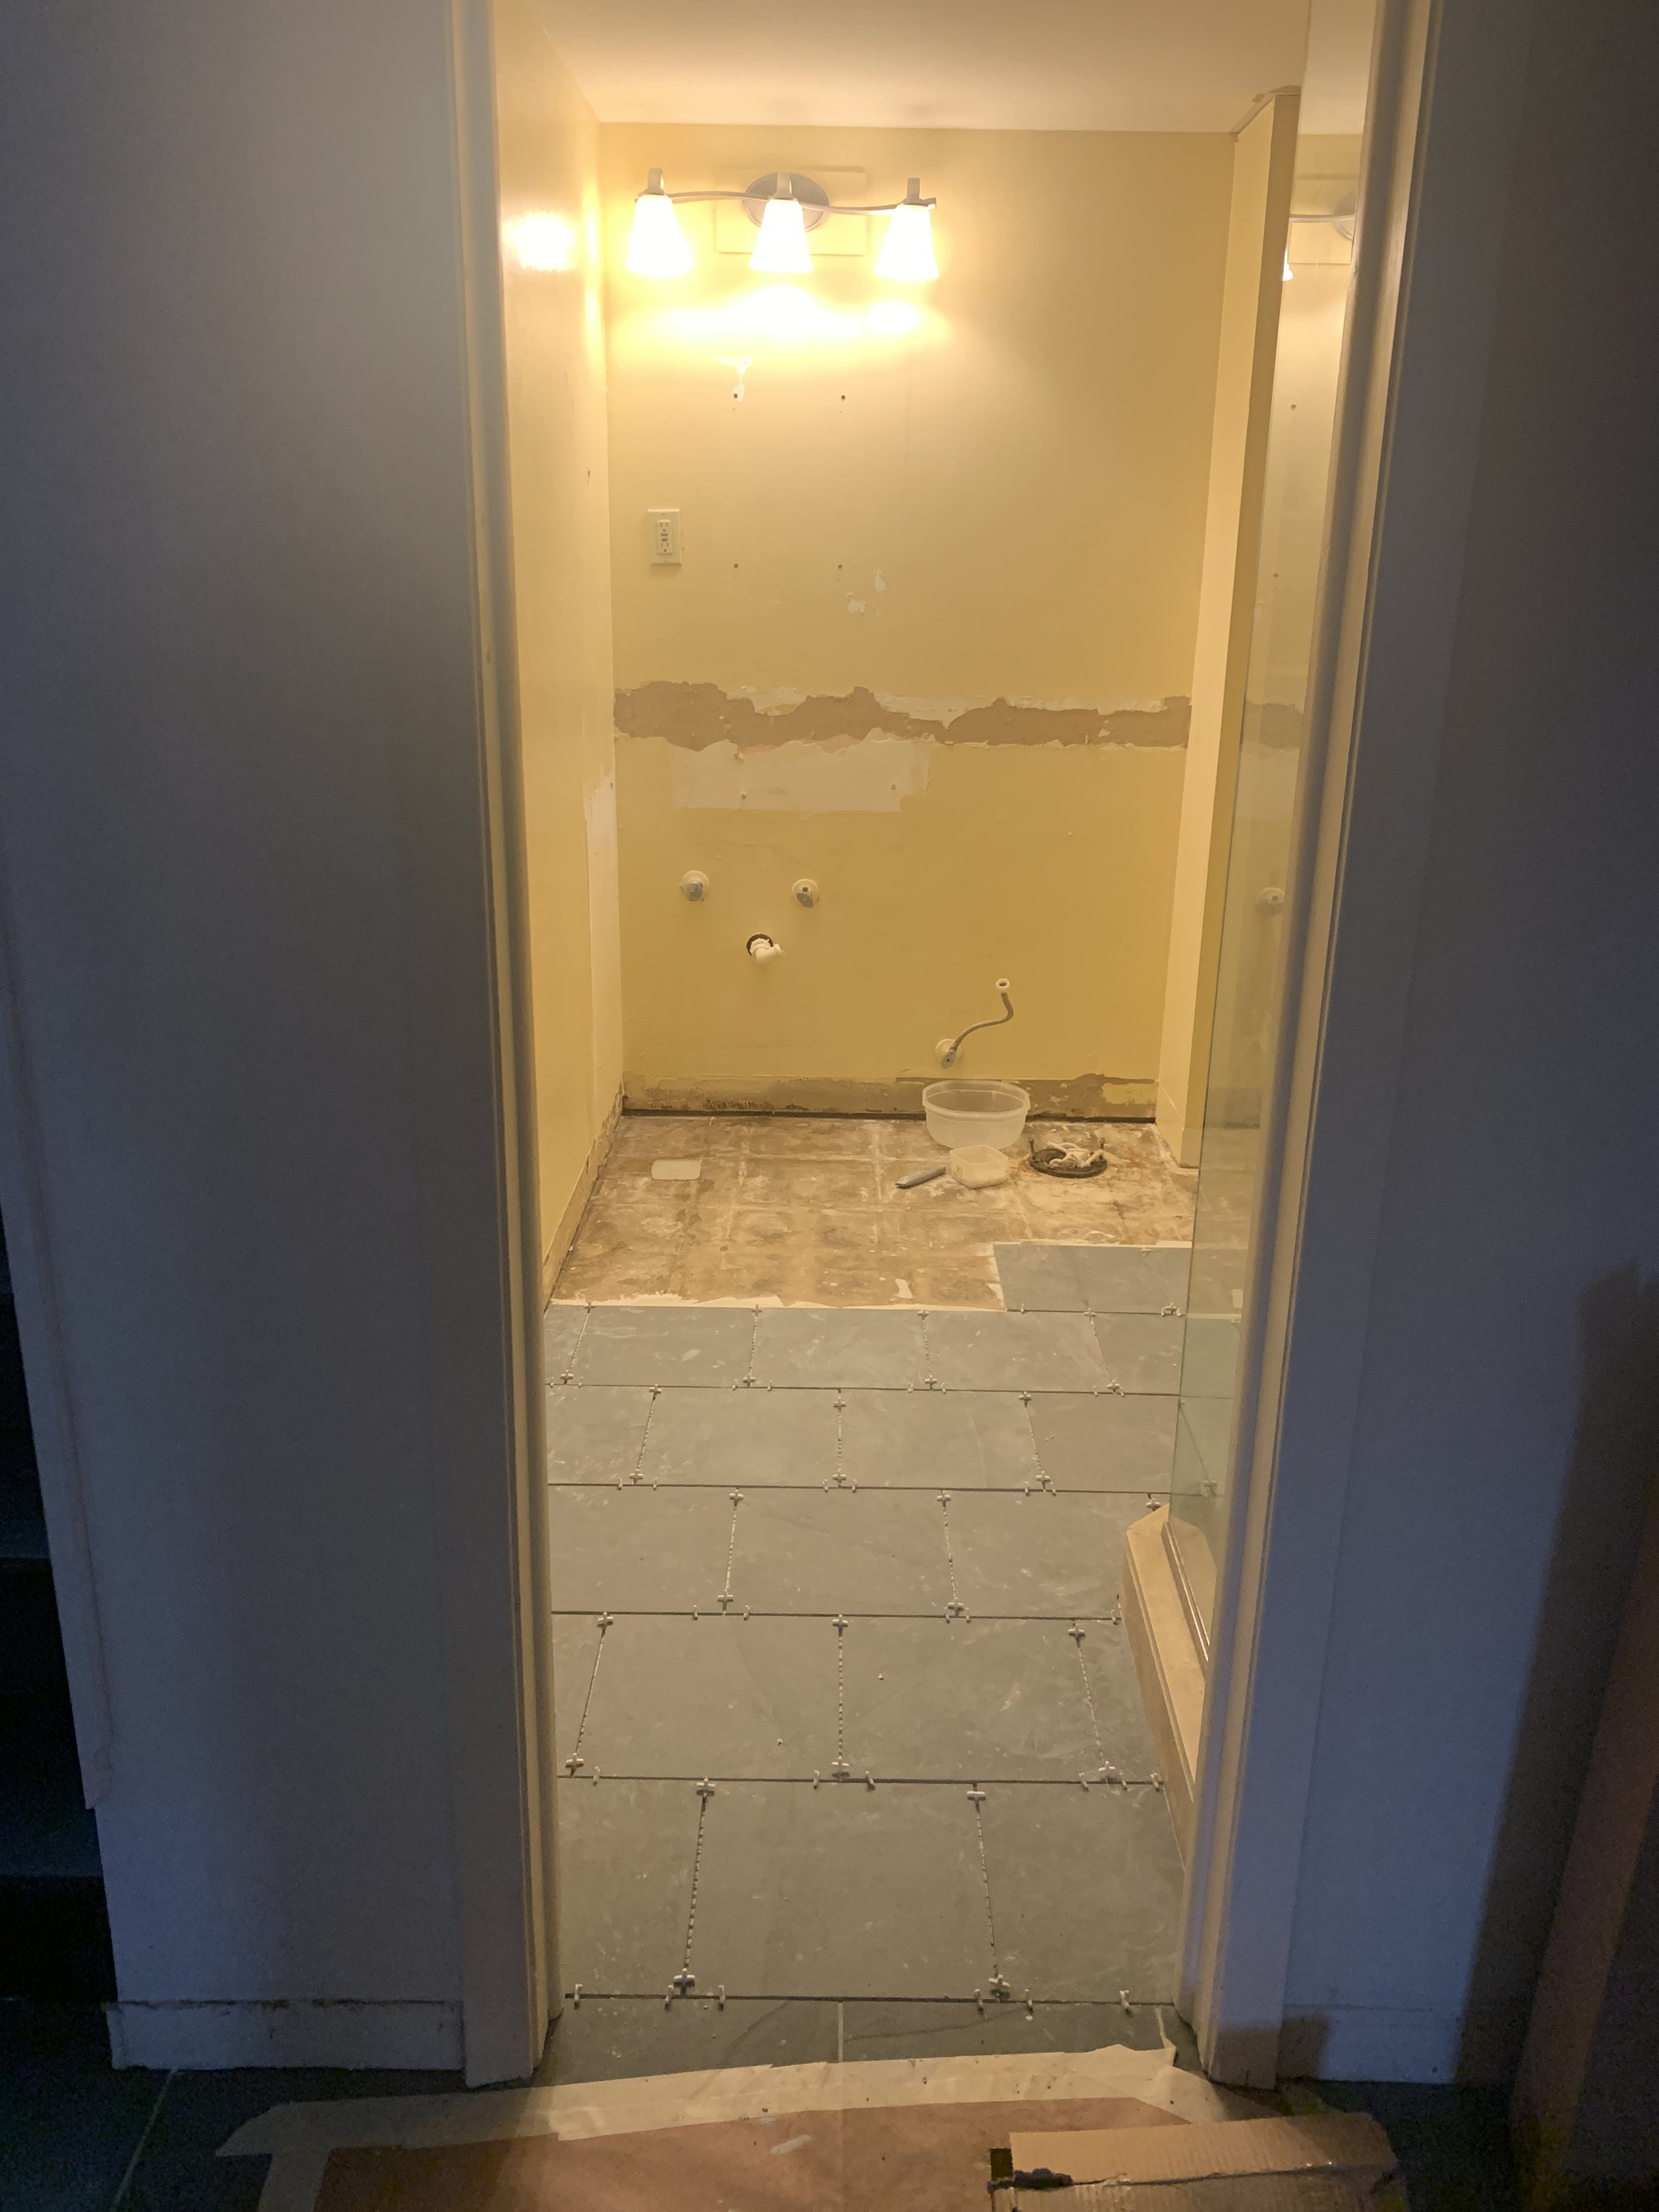


The existing shower we chose not to replace for the time being.