

FIVE QUICK TIPS FOR ORGANIZING YOUR PANTRY
Today, I am trying something new. My intention is to provide you with some value beyond pretty renovation photos and art. I would like to offer actionable content you can walk away with and potentially use to make your life a little bit easier.
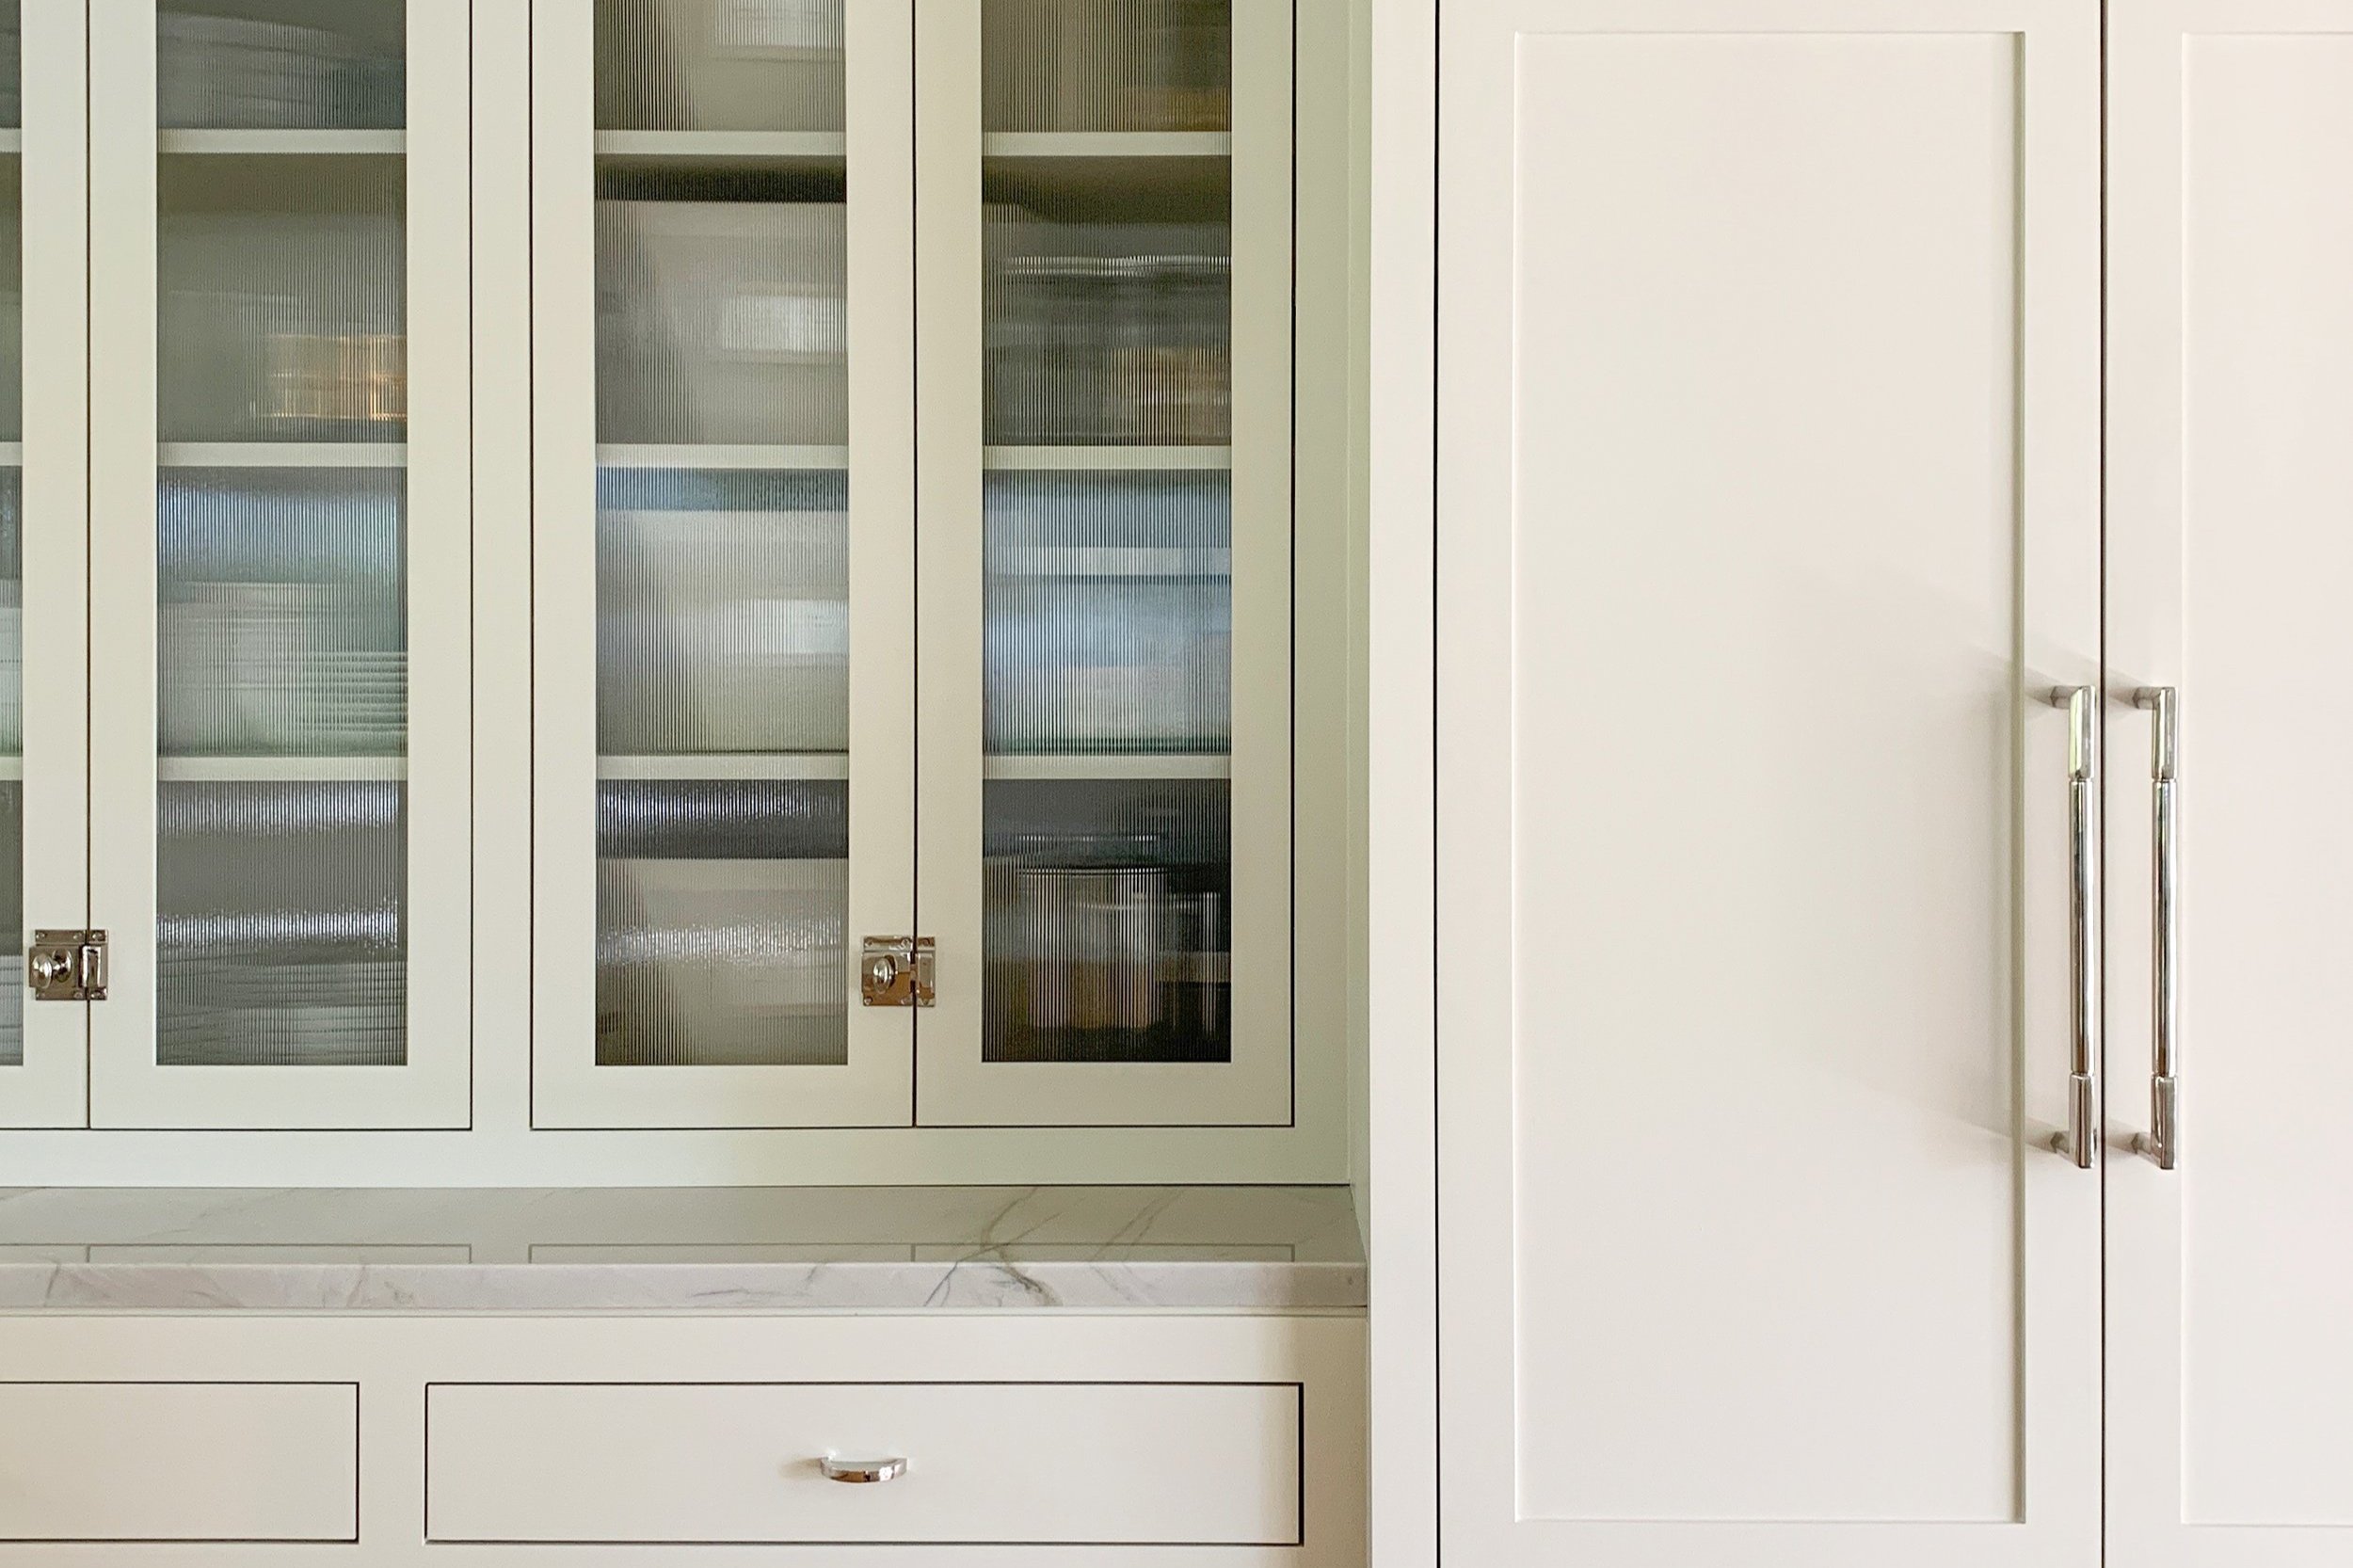
So, in honor of spring cleaning, I am kicking things off with quick tips for organizing a pantry or dry goods area in your kitchen. Coming on two years post renovation, I can finally say I’m at a happy place with how things are organized in our pantry. Whether you have a designated room for your pantry, or one small cabinet, these rules can apply. Our dry goods are stored in a hutch style cabinet. These tips also work for organizing closets, bathrooms and more:
IT’S NEVER ACTUALLY DONE.
The goal here is to get to a stage where you can find a balance between knowing where everything is with relative ease, and not being overwhelmed by the mess. There will be some level of disorderliness, we aren’t going for a curated magazine-worthy space here, but we also don’t want to feel embarrassed when a guest comes over and wants to help in the kitchen or grab a quick snack. What I’m saying is, go easy on yourself. The only person you should be trying to impress is YOU!
TAKE YOUR TIME.
There is no deadline. Take time to figure out what works for you and what doesn’t. It took me 2 years to get to where I feel good about how everything is stored. Storage containers are also a big investment, and better purchased overtime once you know exactly what you want.
TAKE AN INVENTORY OF EVERYTHING YOU HAVE BEFORE YOU START.
It sounds overkill, but it truly is the best way to ensure everything will fit in the space you intend to put it. I learned this technique while working for California Closets and now apply it to every space I plan, most especially kitchens. When I plan a kitchen, I measure the linear inches of how much space certain items take up. For instance, my pots take up two shelves in a 27” cabinet. How many jars and what size will you need for X-Y-Z, how many bins will you need for A-B-C? Always plan for a little overage, as things typically take up more space than you anticipate. Over plan, and over buy. You can always return what you don’t need.
HAVE A MIXTURE OF BINS AND GLASS STORAGE CONTAINERS.
I have been collecting bins and jars for over a dozen years now. Bins conceal pre-packaged foods/snacks etc. and allow you to haphazardly throw things into a designated spot and be done with it; because let’s be honest, I’m not going to lovingly organize every kid fruit pouch I buy in order by color and variety.
For cost saving options try shopping thrift stores for bins and baskets, and use mason jars to store less frequently used flours, nuts, seeds, etc. I’ve included some links below on jars and bins I used for our pantry. If you bake, I highly suggest at the very least keeping your flours and sugar in a large glass container. Trust me, I waited too many years to be able to reach into a wide-open jar and scoop out flour without making a dusty mess out of my entire counter. They will also stay fresh longer this way. Having at least 2-3 large jars for this is worth the investment. We have 4 bins, and countless jars. Each bin is for a particular food category and is labeled. This will look different for everyone of course. Find what works for you and what your space will accommodate.

USE A LABEL MAKER/LABEL YOUR CONTAINERS.
They are relatively inexpensive and oh so satisfying to use. Labeling containers kind of forces you to put everything back in its place, maintaining all that hard work you spent time on initially. When you create a designated jar to store dry goods in, it also incentivizes you to start buying more items in bulk, which saves you money and is a more earth friendly way to buy your food. I’ve linked the one I purchased recently that is Bluetooth enabled and can print right from your phone.

* BONUS TIP:
You can use masking tape to label things if you aren’t ready to buy a label maker. I still use masking tape on the top of my jars to add quick cooking instructions for rice, flour mixes and grains that either came from the original packaging or from the cooking instructions on the bulk bin at the store. If buying in bulk, take a photo of the cooking instructions at the store so you can write it down when you get home.

My “finished’ pantry.
Click the images below for links to products mentioned in the post

Set of 3 glass jars.

Set of 2 large glass jars for flours.

Canvas storage bin.

SUPVAN label maker machine.